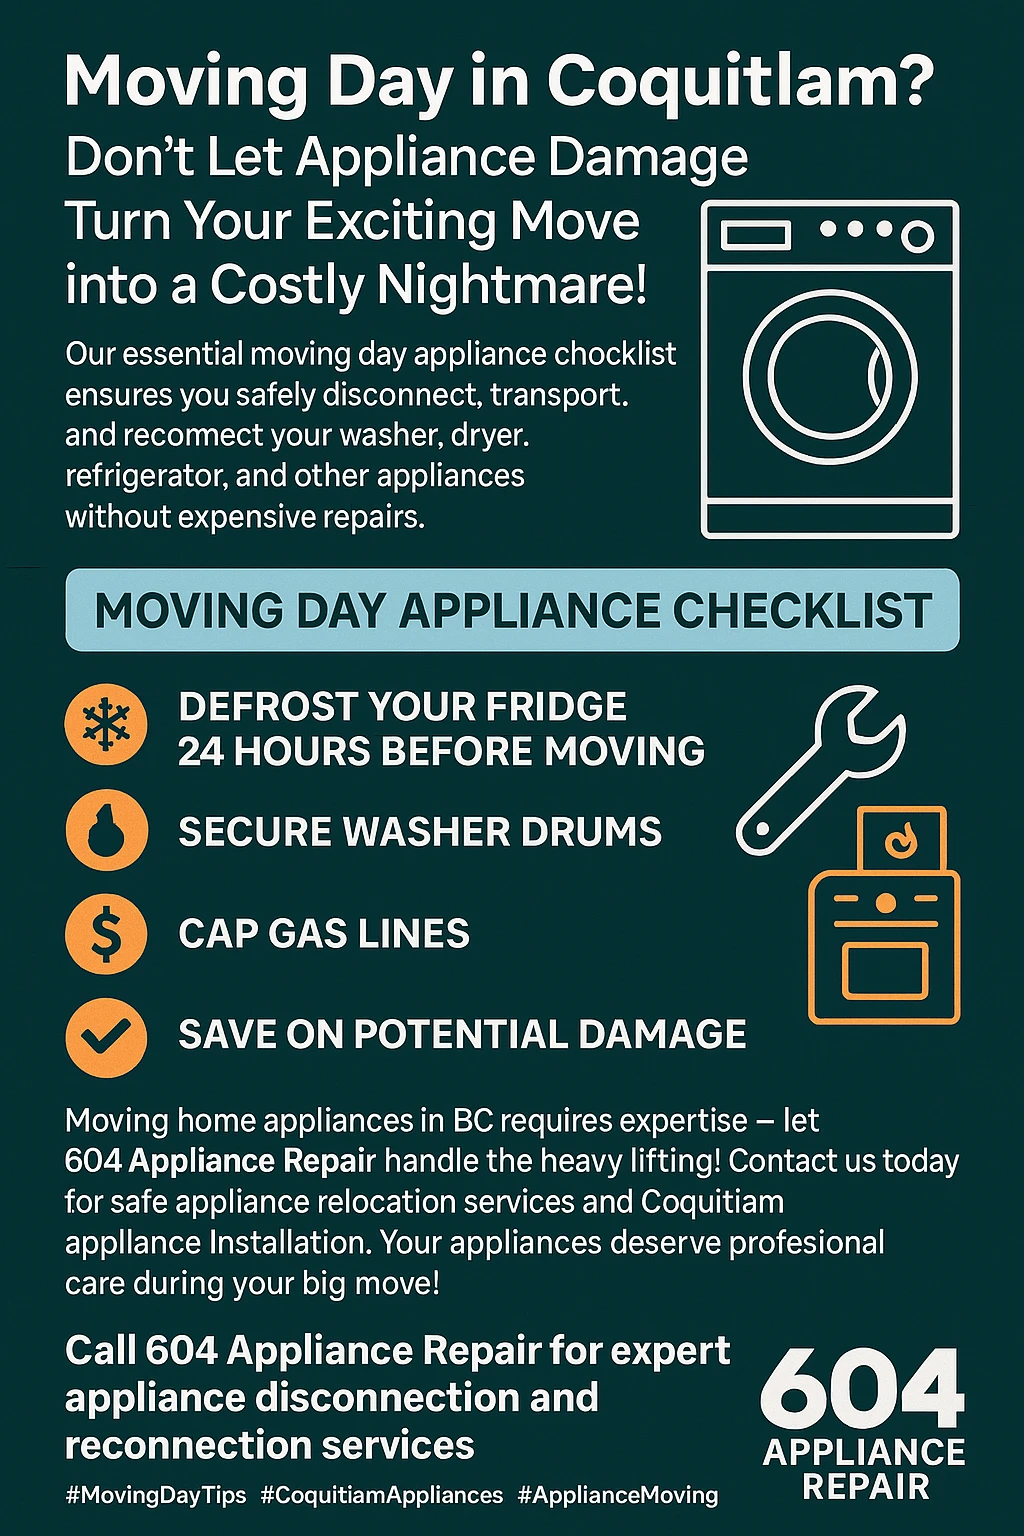
Moving Day Appliance Checklist: How to Safely Disconnect, Transport, and Reconnect Your Home Appliances in Coquitlam Without Damage
Planning to relocate your valuable appliances during your upcoming Coquitlam move but worried about potential damage or costly mistakes? Our comprehensive moving day appliance checklist will guide you through every step of safely disconnecting, transporting, and reconnecting your home appliances without breaking the bank or voiding warranties.
Picture this: you’re standing in your new Coquitlam home, excited to start fresh, when you discover your expensive refrigerator isn’t cooling properly after the move. The internal components were damaged during transport, and you’re facing a repair bill that could have been avoided with proper preparation. This scenario happens more often than you’d think, but it doesn’t have to happen to you. Moving appliances safely requires careful planning, the right equipment, and understanding of each appliance’s unique requirements. 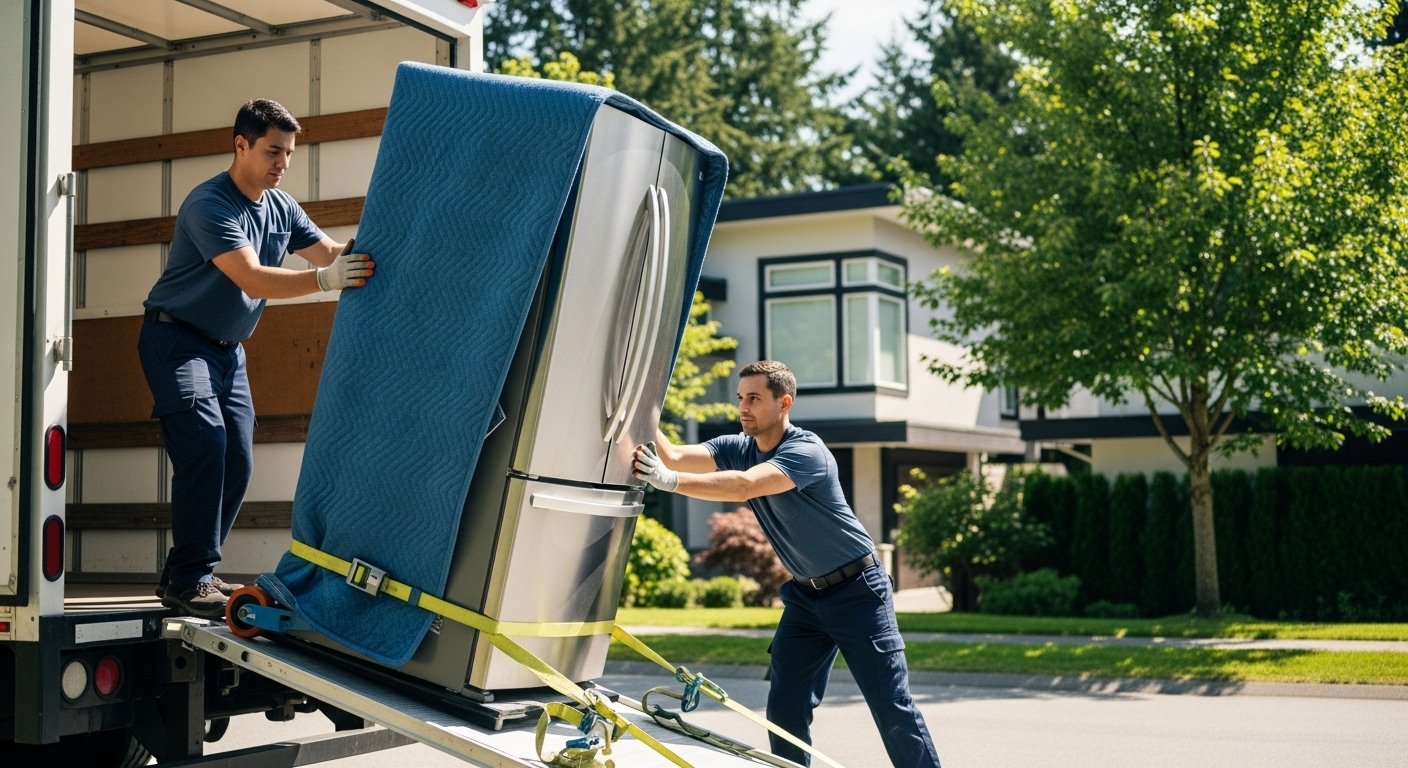
From my experience helping countless families navigate their Coquitlam moves, I’ve learned that proper appliance preparation isn’t just about avoiding damage – it’s about protecting your investment and ensuring your new home setup goes smoothly. Whether you’re moving from a downtown Vancouver condo to a Port Coquitlam family home or relocating within the Tri-Cities area, this guide will walk you through everything you need to know. We’ll cover the essential timeline for preparation, specific disconnection procedures for different appliance types, and unique considerations for moving appliances safely in Coquitlam’s climate.
Key Outtakes:
- Begin appliance preparation 24-48 hours before moving day to ensure proper defrosting and cleaning time
- Each appliance type requires specific disconnection procedures to prevent internal damage and safety hazards
- Professional-grade moving equipment like appliance dollies and padded blankets significantly reduce damage risk during transport
- Coquitlam’s unique climate considerations require additional moisture protection during appliance relocation
- Professional reconnection services ensure warranty compliance and prevent costly installation errors in your new home
Pre-Moving Preparation Timeline: The Critical 48-Hour Window
The biggest mistake I see Coquitlam homeowners make is waiting until moving day to start preparing their appliances. Trust me, this approach leads to stress, delays, and potential damage that could have been easily prevented. Successful appliance moving starts well before the moving truck arrives at your door. The preparation phase is crucial because it allows time for proper cleaning, defrosting, and component removal that protects your appliances during transport. 
Starting your preparation 48 hours before moving day gives you adequate time to handle the most time-sensitive tasks. Refrigerators and freezers need at least 24 hours to defrost completely, while other appliances benefit from thorough cleaning and component removal. During this preparation window, you’ll also coordinate utility disconnections and gather necessary moving supplies. This timeline prevents the rushed decision-making that often leads to shortcuts and damage.
Create a detailed inventory of all appliances you’ll be moving, including model numbers, serial numbers, and photos of their current condition. This documentation serves multiple purposes: it helps with insurance claims if damage occurs, assists service technicians with reconnection, and provides warranty information when needed. Take photos from multiple angles, paying special attention to any existing scratches, dents, or wear patterns. This documentation becomes invaluable if you need to file insurance claims or warranty requests later.
The cleaning and defrosting protocol begins with your refrigerator and freezer, which require the longest preparation time. Remove all food items and donate perishables to neighbors or local food banks rather than letting them spoil. Clean all interior surfaces with a mixture of baking soda and warm water, paying special attention to spills and sticky residues. Remove all shelves, drawers, and removable components, wrapping them separately for transport. This prevents internal damage and makes the appliance lighter and easier to move.
Coordinate with Coquitlam utility providers to schedule disconnections and reconnections appropriately. Gas line disconnections require professional service and advance scheduling, while water and electrical shutoffs can often be handled by homeowners. Contact BC Hydro for electrical service transfers and FortisBC for natural gas service changes. Schedule these utilities to be connected at your new address before your appliances arrive, ensuring you can complete installation and testing promptly.
One unique consideration for moving appliances safely in Coquitlam relates to our coastal climate patterns. Research local weather conditions during your moving month to determine if additional moisture protection is needed for your appliances. BC’s coastal climate can create condensation issues during transport, especially when moving from heated indoor spaces to cooler outdoor temperatures. Plan for extra protective wrapping and longer drying time if moving during wet or humid conditions.
Appliance-Specific Disconnection Procedures
Now that you understand the importance of advance preparation, let’s dive into the specific steps required for each type of appliance. Each appliance in your home has unique components and connections that require specialized disconnection procedures. Understanding these differences prevents damage and ensures safe transport to your new Coquitlam location. The key is following manufacturer guidelines while adapting to your specific moving situation.
Refrigerator and Freezer Disconnection
Your refrigerator represents one of your home’s most valuable and delicate appliances, requiring careful attention during disconnection. Begin by removing all food items at least 24 hours before moving day, consuming or donating perishables to prevent waste. Turn off the temperature controls and unplug the unit from the electrical outlet, allowing the defrosting process to begin naturally. Never use heating devices or ice picks to speed up defrosting, as these can damage the cooling system and void your warranty.
If your refrigerator has an automatic ice maker or water dispenser, disconnect the water line carefully to prevent leaks. Turn off the water supply valve, usually located behind the refrigerator or under the kitchen sink. Disconnect the water line connection, allowing any remaining water to drain into a towel or container. Remove the water filter if equipped, storing it separately to prevent damage during transport. Clean the ice maker compartment thoroughly and leave it open to air dry completely.
Remove all shelves, drawers, crisper bins, and loose components from inside the refrigerator. Wrap these items individually in bubble wrap or moving blankets, labeling them clearly for easy reassembly. Clean all interior surfaces with a mild cleaning solution, paying attention to spills, sticky residues, and odor-causing bacteria. Leave the doors slightly open during the final drying phase to ensure complete moisture removal and prevent mold growth.
Secure the refrigerator doors with moving tape or bungee cords, but avoid using tape directly on the appliance surface as it can damage finishes. Use furniture blankets or cardboard to protect the tape contact points. Never lay a refrigerator on its side during transport, as this can damage the cooling system’s compressor and refrigerant lines. If tilting is absolutely necessary for narrow doorways, limit the angle to 45 degrees maximum and allow the unit to sit upright for 24 hours before plugging in at your new location.
Washing Machine and Dryer Preparation
Washing machines require specific preparation steps to prevent internal damage during transport, particularly to the delicate drum and suspension system. Run a cleaning cycle with white vinegar 2-3 days before moving to remove soap residue and mineral deposits that could cause problems during transport. This cleaning cycle also helps eliminate odors and bacteria that could develop during the moving process. After the cleaning cycle, leave the door open to air dry completely, preventing musty odors from developing.
Disconnect the water supply hoses from both the hot and cold water connections, allowing any remaining water to drain completely. Have towels ready to catch dripping water and protect your floors from damage. Remove the drain hose from the standpipe or utility sink, ensuring all water is drained from the system. If possible, run a final spin cycle to remove excess water from the internal components. This step is crucial because remaining water can damage electronic components or cause mold during extended transport periods.
Install the manufacturer’s transit bolts if you still have them from the original installation. These special bolts secure the washing machine’s drum and prevent it from bouncing during transport, which can damage the suspension system and internal components. If you’ve lost the original transit bolts, contact the manufacturer or appliance parts supplier to obtain replacement bolts for your specific model. Never transport a washing machine without proper transit bolts, as the repair costs often exceed the price of professional moving services. 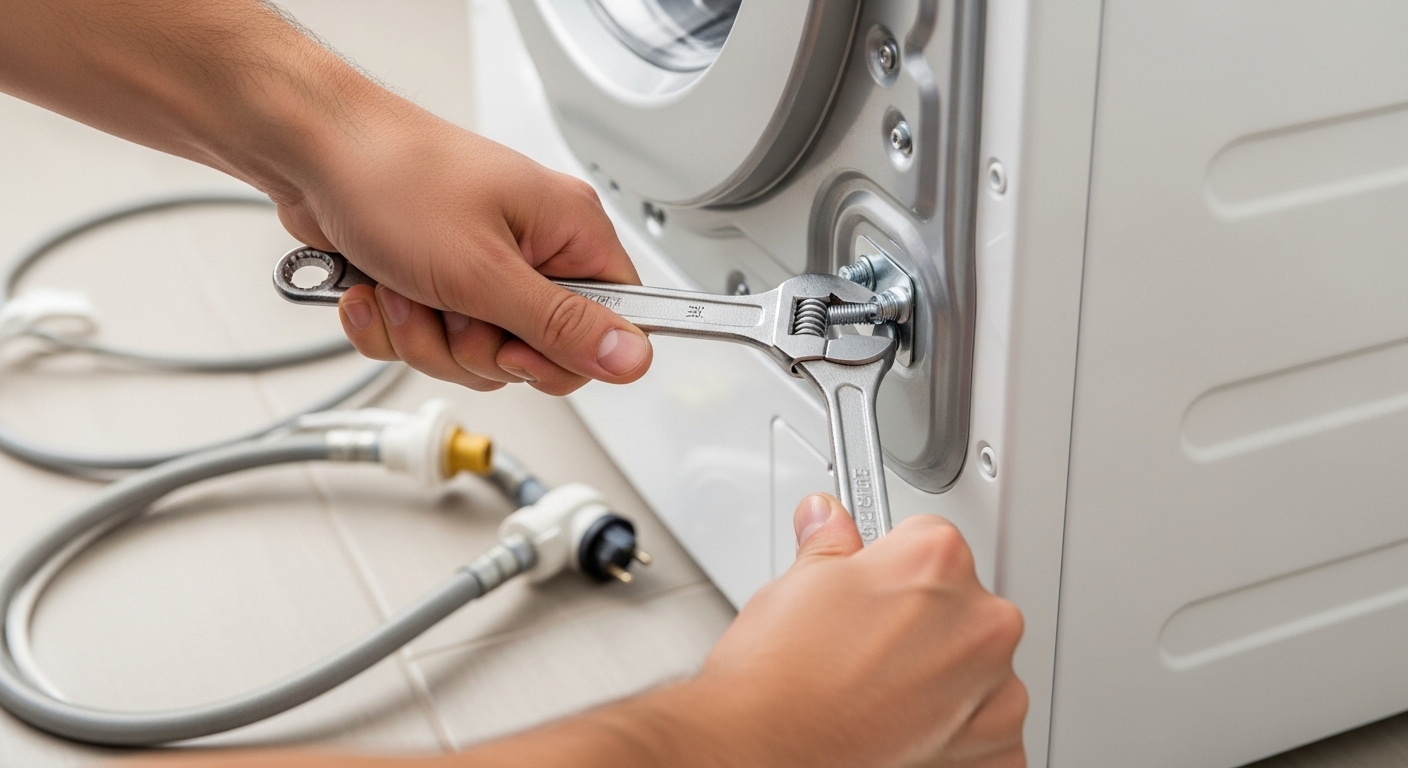
Electric dryers require disconnection from the 240-volt electrical outlet, while gas dryers need professional disconnection from the natural gas line. For gas dryers, contact a licensed gas technician to safely disconnect the gas line and cap it properly. This isn’t a DIY job due